
What Is Vivid TV On Directv
What Is Vivid TV On Directv: I want to make sure my TV has the finest picture possible, but I’m not sure how to change the Picture Mode setting. Cinema, Vivid, Standard, and there’s even one for Gaming and Sports are among my options. What is the optimal picture setting for my television? — Boston, Massachusetts resident Joe
That is an excellent question. When consumers bring their televisions home from the store, they frequently forget to adjust the Picture Mode. However, depending on which room your TV is in — and the lighting in that room — the Picture Mode choice might help you get the finest image possible.

In general, the Cinema (or Movie) setting will give you the most information and the most faithful depiction of the original image. Because Cinema tends to soften the screen’s brightness, this setting will also look well in a dimly light room. It has a more relaxing effect.
What Is Vivid TV On Directv?
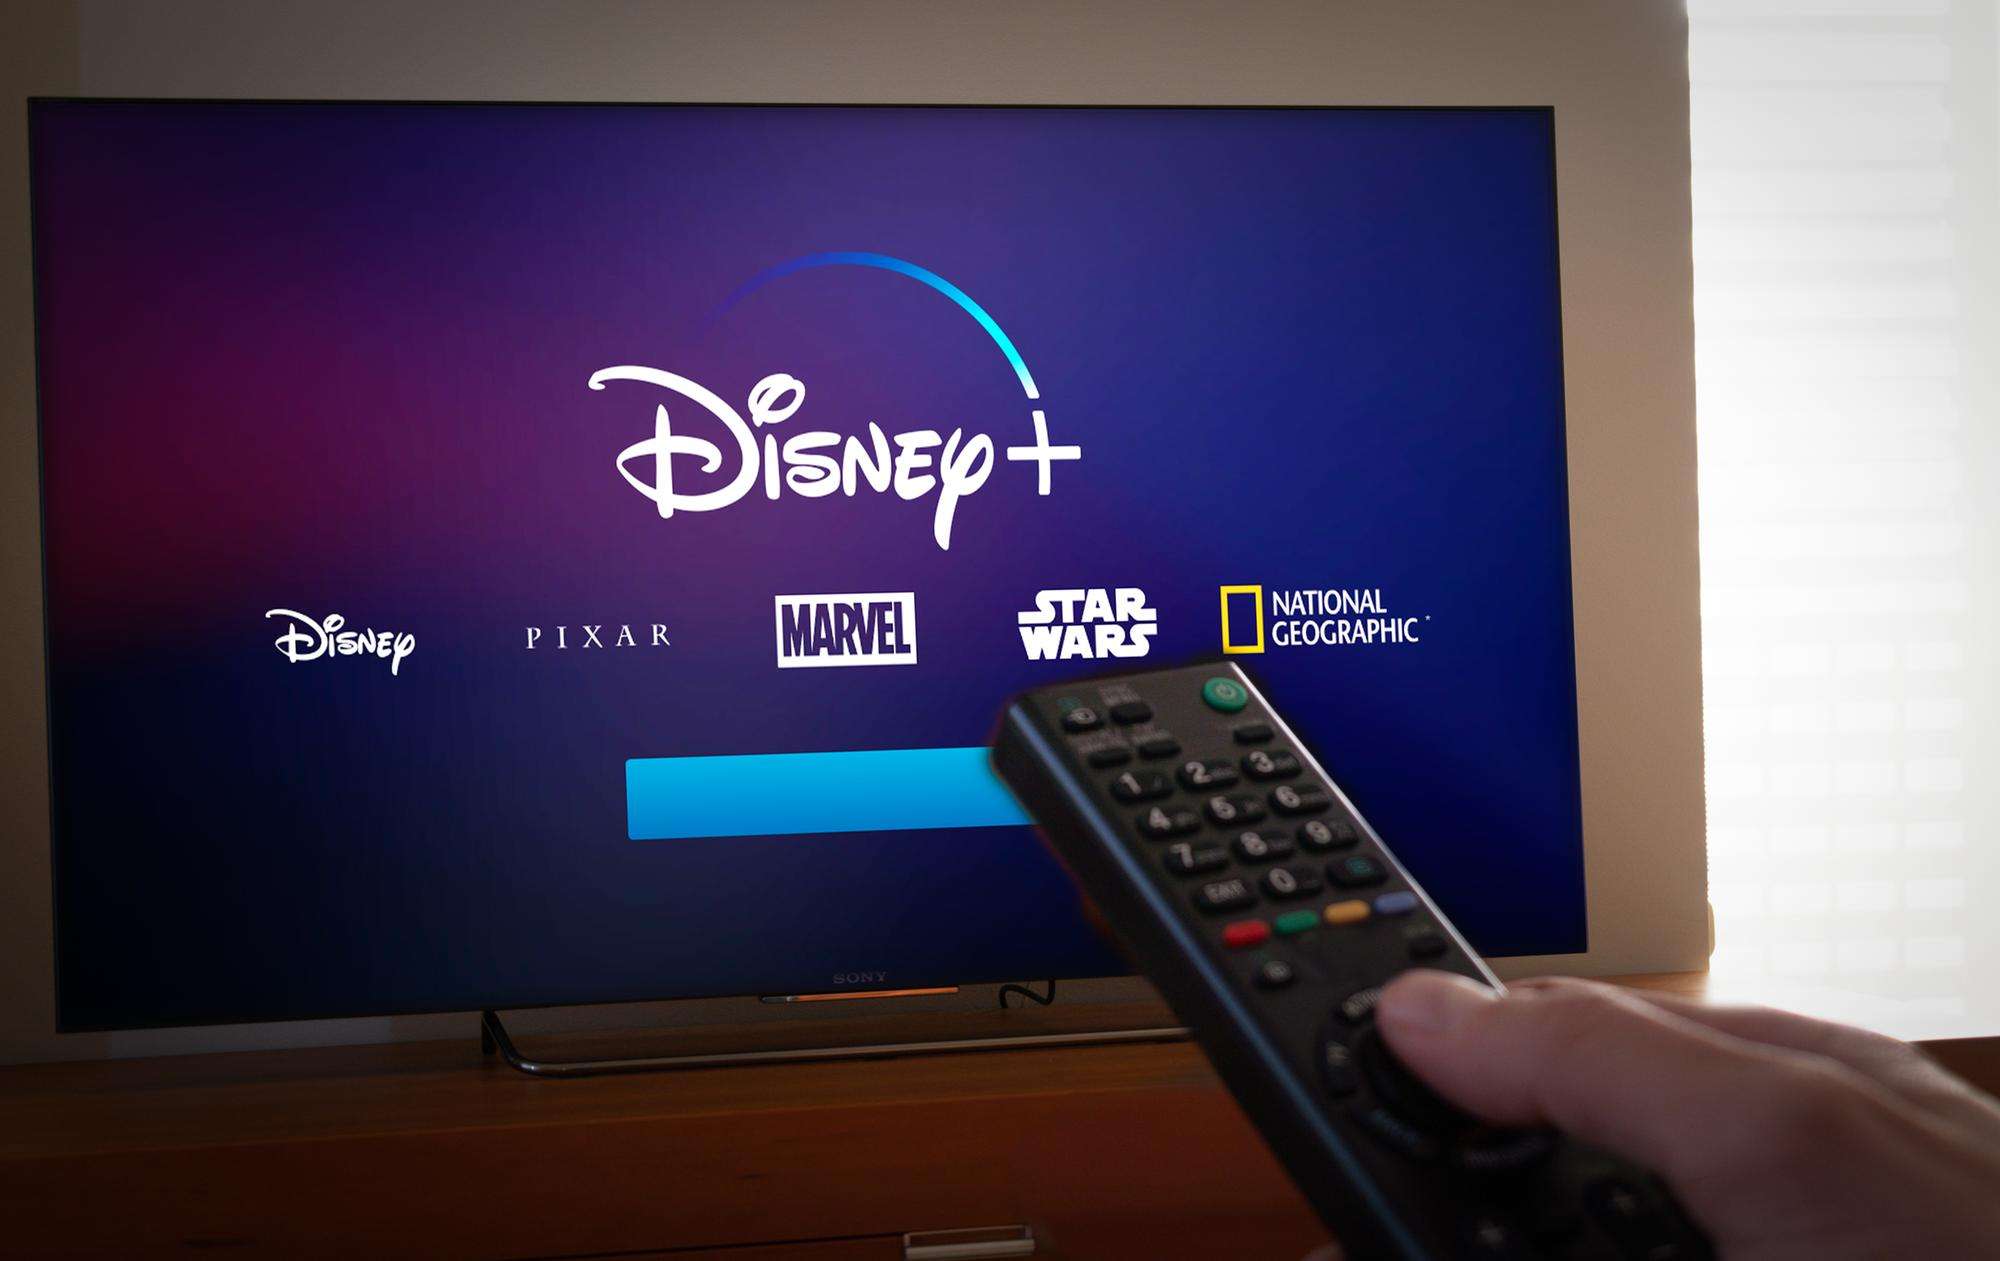
However, some people like the Vivid (also known as Dynamic) setting because it causes the image to “pop.” You’ll notice that the screen is brighter and more lively with Vivid. (The majority of in-store TVs are set to Vivid because TV customers are drawn to vivid images.) For further details, see our article Why Did My TV Look Better in the Store.) However, Vivid has a tendency to wash out colors and some image detail.
In the end, the decision is yours. Experiment with the two options to determine which you prefer. In a bright room, the Vivid setting might be your first choice. However, most film snobs — and I mean that in a good way — would endorse Cinema.
I started hearing remarks online a few weeks ago that individuals couldn’t identify the difference between the channels they did and didn’t get in the DIRECTV guide.
Except that those remarks aren’t accurate.
There is a distinction between “channels I get” and “channels I don’t get,” as shown in the screen capture at the top of this article. Because I don’t have the Spanish package, I went all the way down to the 400s. As you can see, I receive channels 402 and 404, but not channel 403. On 403, the screen background is darker, as are the digits. It’s not obvious, but it’s there.
If the contrast on your TV isn’t the same as it used to be, it’s time to modify the brightness and contrast. Personally, I believe that DIRECTV has done the public a disservice by employing two different colors of grey, but nothing in the DIRECTV guide should appear black (except parts of the graphic banners.) Your guide is not calibrated to industry standards if it appears black. It’s possible that you’ll prefer it that way. That’s OK. It’s just not what AT&T had planned for you to see on your screen.
I’ll concede it used to be more evident, as seen by this photograph of the old menu system I discovered online:
There was a lot more contrast between the channels one got and the ones one didn’t get in the earlier menus.
What should I do?
It’s hardly the simplest task in the world to calibrate your television. You can buy a Blu-ray disc and download some calibration tools, but if your TV has different settings for each input, that may not assist. Personally, I’ve found that resetting the TV to its factory settings and making just minor changes from there is the best way to go.
“Vivid” and “Demo” are no longer acceptable terms.
A TV is frequently set to “Vivid” mode since it appears the nicest in the store. If your television is still set to “Vivid” mode (or something similar, such as “Demo”), you aren’t seeing the image that the content developer intended. You could enjoy it, and since it’s your television, you can watch it however you choose. Still, before you abandon DIRECTV’s guide or anything else, seek a “Standard” setting on your television. It’s usually a pretty decent representation of what the media wants you to see.
True, “Standard” mode won’t make everyone look like they’re on the surface of Venus on a sunny day. Colors will be a little more natural, but also a little flatter. And, more significantly for the sake of this post, the menus will most likely look nicer as well.
Alternatively, simply hide the channels you don’t receive.
It’s actually quite simple to block the channels you don’t receive. While watching the guide, press the zero button on the remote to select “Change favorites list.” “Channels I Get” is one of the automatic listings. It will only display the channels that you have access to.
I’m sure there are many folks who dislike the new menus. AT&T listened: Since the first edition, logos have been easier to read and typography has gotten bolder in several areas. Those are both positive attributes. Simply put, if you’re still dissatisfied, talk about it! Leave comments here, on Facebook, or contact 1-800-DIRECTV to express your dissatisfaction. AT&T will take action if the level of support begins to cost them money. I doubt they’ll go back to the old menus, but they can make improvements to the new ones at the very least.
Many televisions don’t look their best right out of the box, which may surprise you. That’s because your TV’s default settings, which are the ones it uses before you make any changes, aren’t always optimal. To get the finest picture quality from your TV, you’ll probably need to fiddle with the picture settings and TV modes.
That is precisely what we do at CNET as part of our television review process. We go straight to the menus to tweak the picture settings so that the televisions we’re examining have the best picture quality possible.
Fortunately, you don’t need to be an expert to make your television appear fantastic. You may modify a variety of settings on your TV, including picture modes and controls for brightness, lighting, sharpness, smoothness, and more, to better the TV shows, movies, and video games you watch every day.
We’ve broken down all of the settings you’ll need to tweak to obtain the greatest picture from your television. Keep in mind that the names of picture settings may differ from one manufacturer to the next. For example, a setting called “brightness” by one TV provider could govern something completely different on another television. We cover a lot of the differences below, but we can’t cover every TV manufacturer, especially on older models.
Start with the right picture mode
The picture mode on your TV has the greatest impact on overall picture quality. This one setting affects a slew of other options that alter your TV’s overall “look.” The default mode, usually named Standard, Vivid, Dynamic, Bright, or anything like, is definitely still the default option if you’ve never changed it. In this setting, the TV is at its least accurate, with blown-out colors and image “enhancing” elements that could attract the eye on a store shelf but make the TV look worse than it could at home.
Backlight or OLED light
- Controls the light intensity of the entire display
- Too high and it can cause headaches or eye strain, waste energy, and, in some cases, cause premature wear on the TV
- Too low and the image is too dim and difficult to see
Almost all TVs will feature a setting that allows you to adjust the total light brightness. It’s commonly referred to as the backlight control, OLED light, or something along those lines. This setting is called Brightness on modern Sony TVs, and there are five levels (from brightest to darkest) and a backlight control on Roku TVs. Whatever the title, this is the real brightness, which is usually distinct from the “Brightness” control (see below).
This option should be adjusted based on the illumination in the space and your personal preferences. Higher settings are recommended for brighter environments and daylight viewing, while lower settings are recommended for home theatre or midnight viewing.
If you’re concerned about how much electricity you use, the brighter the TV is, the more energy it will require. Higher brightness makes OLED TVs more prone to picture retention and burn-in, albeit even at maximum brightness, this is unlikely with ordinary viewing habits.
- Controls the white or bright parts of an image
- Too high will erase detail from clouds, snow, and other bright objects
- Too low will look dim and flat
The contrast control alters the brightness of the image’s bright areas. There is, however, a ceiling. When the setting is set too high, the whites are “clipped,” turning near-white details completely white. This efficiently removes any detail in bright objects like clouds without really brightening the image.
To set contrast by sight, you’ll need an image that has a lot of bright parts. Baseball (a fly ball, pop fly, home runs, or something with shots of the sky) or skiing (depending on the season, obviously) or something with clouds work nicely for this. You want a bright image with plenty of detail in the highlights. To put it another way, the image’s brilliant portions still retain detail and aren’t just bright.
Turn the contrast control up till you start losing detail once you’ve found something you believe would work. Clouds will no longer be clouds, and snow will simply be glare. Reduce the control till you can see detail again. It will be excellent to fall anywhere in the middle of this range. Because all content is different, you may need to adjust it as you watch other series or movies.
These discounts don’t have a specific expiration date, but with Memorial Day weekend behind us, we expect prices to rise again soon. It’s likely that we won’t see these kinds of deals again until Prime Day, so take advantage of them now to avoid losing out.
Related Posts
- Is Tudn On Sling TV
- How To Watch Frndly TV On Samsung Smart TV
- How To Screen Share To Samsung TV
- How To Get Espn Plus On Lg Tv