
Top 11 Steps about How to remove watermarks on Photoshop
How to remove watermarks on Photoshop?
It is common practice to employ watermarks to safeguard the copyright and ownership of digital photographs. However, there may be circumstances where you need to remove watermarks from photos to use them for legitimate purposes. For example, you may need to restore old photographs or use images for educational or other purposes that are not commercial.
Adobe Photoshop comes equipped with powerful tools and methods that can assist users in adequately removing watermarks while preserving the quality of the images they work with. In this tutorial, we’ll show you how to get rid of watermarks in Photoshop by walking you through each step.
Before You Get Started
It is essential to remember that removing watermarks from photographs without the appropriate authority could be an infringement of the intellectual property rights of another person. Before moving further with the process, you must ensure you have permission to change the image.
Step-by-Step Guide
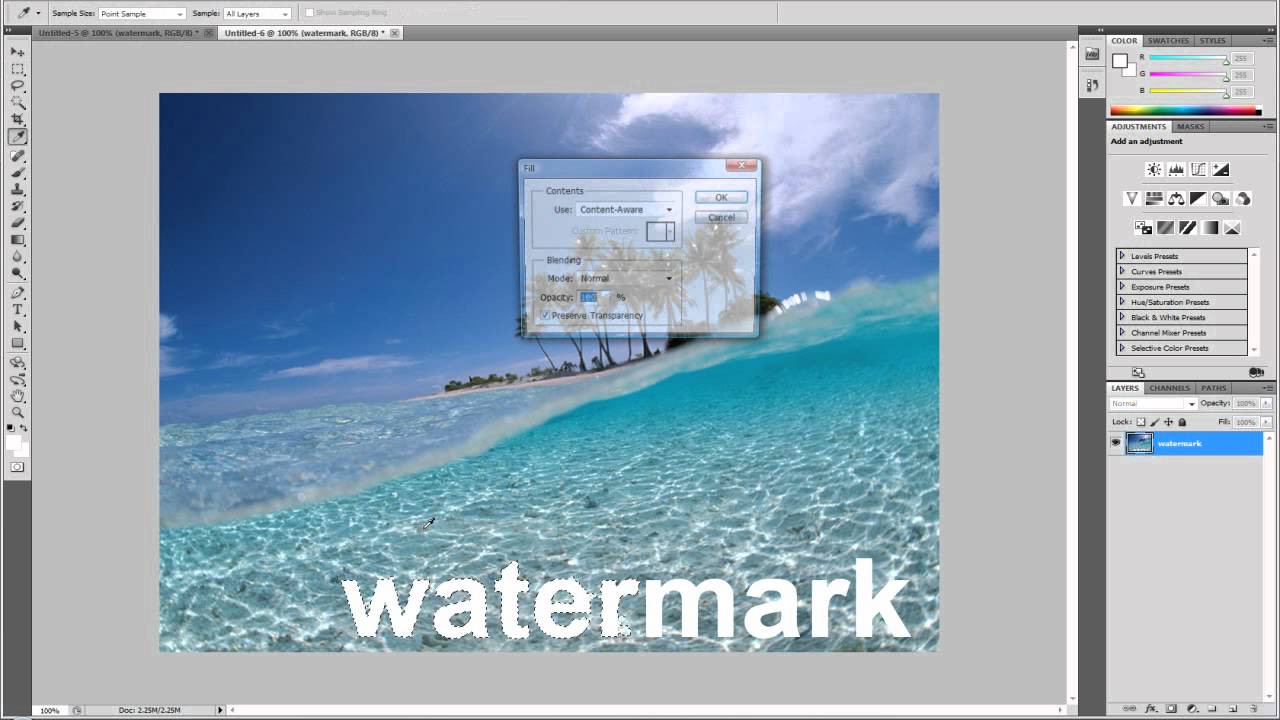
1. Launch Photoshop and open the image.
Start up Adobe Photoshop, and then open the image with the watermark you wish to remove.
2. Make a copy of the layer that serves as the background.
Using the right mouse button, right-click on the background layer in the Layers panel, and select “Duplicate Layer.” This will produce a copy of the original image, which you may refer back to for reference while you make changes to the image.
3. Go to the Tools menu and pick the Healing Brush Tool
Make your selection from the toolbar to use the Healing Brush Tool. This tool is fantastic for smoothly restoring portions of a picture by mixing them with pixels from other areas.
4. Modify the Settings for the Brush
Adjust the brush size in the settings bar at the top of the screen to correspond with the watermark size you want to add. You also have the option to pick “Sample: All Layers,” which will enable the Healing Brush Tool to take a sample from the original layer in addition to the duplicate layer.
5. Take a Sample from a Spotless Area
While holding down the “Alt” (Windows) or “Option” (Mac) key, click on a part of the image that is free of the watermark and is visually similar to the area where the watermark is located. This identifies the point from which the tool will sample pixels to be used in the process of restoring the region containing the watermark.
6. Begin to brush your teeth.
Put the “Alt” or “Option” key back into its normal position, then carefully paint over the watermark. Photoshop will effectively make the watermark disappear by blending the sampled pixels with the area containing the watermark. If you want better outcomes, try using short, light strokes. It is possible that numerous passes will be required if the watermark is intricate.
7. To Achieve Greater Accuracy, Zoom In
Increase the level of magnification to see more detail in regions that are more complicated. Because of this, you’ll be able to operate with more precision and attention to detail.
8. When dealing with complex watermarks, use cloning.
You might want to try using the Clone Stamp Tool rather than the Healing Brush Tool if the watermark is complicated or covers a significant region. A sample should be taken from a spot that has not been contaminated, and then the watermark should be painted over with a brush. The Clone Stamp Tool creates an exact copy of the sampled pixel arrangement.
9. Contrast with the Authentic Version
To check how your changes look compared to the original picture, turn the visibility of the duplicate layer on and off at regular intervals. Doing so may better ensure that you are progressing in the proper direction.
10. Perform Final Adjustments and Evaluate
Continue to fine-tune your adjustments by switching between the Healing Brush Tool and the Clone Stamp Tool. This will help you get the most out of both tools. If you want a seamless look, paying great attention to the nuances, textures, and patterns is essential.
11. Save the Image After Editing It
Once you are content with the result, save the edited image using the file type and quality settings of your choosing.
Conclusion
Time and careful attention to detail are required to remove watermarks from photographs. You can easily erase watermarks from an image while still retaining the image’s overall integrity using some of the strong tools included with Adobe Photoshop, such as the Healing Brush Tool and the Clone Stamp Tool.
Always keep in mind that copyright and intellectual property rights should be respected, and be sure to apply these approaches in a responsible and ethical manner. Weirdnewsera says that you might not find any other platform that gives you all the content about health, sports, business, technology, and entertainment.